Simulate Pod Faults
This document describes how to use Chaos Mesh to inject faults into Kubernetes Pod to simulate Pod or container faults. Chaos Dashboard and YAML files are provided to create PodChaos experiments.
PodChaos introduction
PodChaos is a fault type in Chaos Mesh. By creating a PodChaos experiment, you can simulate fault scenarios of the specified Pods or containers. Currently, PodChaos supports the following fault types:
- Pod Failure: injects fault into a specified Pod to make the Pod unavailable for a period of time.
- Pod Kill: kills a specified Pod.To ensure that the Pod can be successfully restarted, you need to configure ReplicaSet or similar mechanisms.
- Container Kill: kills the specified container in the target Pod.
Usage restrictions
Chaos Mesh can inject PodChaos into any Pod, no matter whether the Pod is bound to Deployment, StatefulSet, DaemonSet, or other controllers. However, when you inject PodChaos into an independent Pod, some different situations might occur. For example, when you inject "pod-kill" chaos into an independent Pod, Chaos Mesh cannot guarantee that the application recovers from its failure.
Notes
Before creating PodChaos experiments, ensure the following:
- There is no Control Manager of Chaos Mesh running on the target Pod.
- If the fault type is Pod Kill, replicaSet or a similar mechanism is configured to ensure that Pod can restart automatically.
Create Experiments Using Chaos Dashboard
Before create experiments using Chaos Dashboard, ensure the following:
- Chaos Dashboard is installed.
- If Chaos Dashboard is already installed, you can run
kubectl port-forwardto access Dashboard:bash kubectl port-forward -n chaos-mesh svc/chaos-dashboard 2333:2333. Then you can enterhttp://localhost:2333to access Chaos Dashboard.
-
Open Chaos Dashboard, and click NEW EXPERIMENT on the page to create a new experiment.
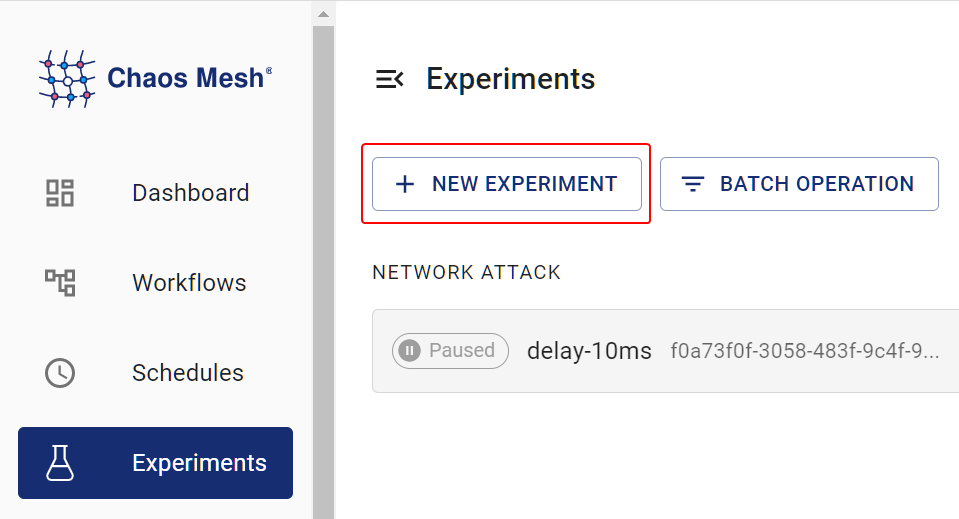
Create a New Experiment -
In the Choose a Target area, choose POD FAULT and select a specific behavior, such as POD FAILURE.
-
Fill out the experiment information, and specify the experiment scope and the scheduled experiment duration.
-
Submit the experiment information.
Create experiments using YAML configuration files
pod-failure example
-
Write the experiment configuration to the
pod-failure.yamlfile:apiVersion: chaos-mesh.org/v1alpha1kind: PodChaosmetadata:name: pod-failure-examplenamespace: chaos-meshspec:action: pod-failuremode: oneduration: '30s'selector:labelSelectors:'app.kubernetes.io/component': 'tikv'Based on this example, Chaos Mesh injects
pod-failureinto the specified Pod and makes the Pod unavailable for 30 seconds. -
After the configuration file is prepared, use
kubectlto create an experiment:kubectl apply -f ./pod-failure.yaml
pod-kill example
-
Write the experiment configuration to the
pod-kill.yamlfile:apiVersion: chaos-mesh.org/v1alpha1kind: PodChaosmetadata:name: pod-kill-examplenamespace: chaos-meshspec:action: pod-killmode: oneselector:namespaces:- tidb-cluster-demolabelSelectors:'app.kubernetes.io/component': 'tikv'Based on this example, Chaos Mesh injects
pod-killinto the specified Pod and kills the Pod once. -
After the configuration file is prepared, use
kubectlto create an experiment:kubectl apply -f ./pod-kill.yaml
container-kill example
-
Write the experiment configuration to the
container-kill.yamlfile:apiVersion: chaos-mesh.org/v1alpha1kind: PodChaosmetadata:name: container-kill-examplenamespace: chaos-meshspec:action: container-killmode: onecontainerNames: ['prometheus']selector:labelSelectors:'app.kubernetes.io/component': 'monitor'Based on this example, Chaos Mesh injects
container-killinto the specified container and kills the container once. -
After the configuration file is prepared, use
kubectlto create an experiment:kubectl apply -f ./container-kill.yaml
Field description
The following table describes the fields in the YAML configuration file.
| Parameter | Type | Description | Default value | Required | Example |
|---|---|---|---|---|---|
| action | string | Specifies the fault type to inject. The supported types include pod-failure, pod-kill, and container-kill. | None | Yes | pod-kill |
| mode | string | Specifies the mode of the experiment. The mode options include one (selecting a random Pod), all (selecting all eligible Pods), fixed (selecting a specified number of eligible Pods), fixed-percent (selecting a specified percentage of Pods from the eligible Pods), and random-max-percent (selecting the maximum percentage of Pods from the eligible Pods). | None | Yes | one |
| value | string | Provides parameters for the mode configuration, depending on mode.For example, when mode is set to fixed-percent, value specifies the percentage of Pods. | None | No | 1 |
| selector | struct | Specifies the target Pod. For details, refer to Define the experiment scope. | None | Yes | |
| containerNames | []string | When you configure action to container-kill, this configuration is mandatory to specify the target container name for injecting faults. | None | No | ['prometheus'] |
| gracePeriod | int64 | When you configure action to pod-kill, this configuration is mandatory to specify the duration before deleting Pod. | 0 | No | 0 |
| duration | string | Specifies the duration of the experiment. | None | Yes | 30s |
Some Notes for "Pod Failure" Chaos Experiment
TLDR; There are several suggestions for using "Pod Failure" chaos experiment:
- Change to an available "pause image" if you are operating an air-gapped Kubernetes cluster.
- Setup
livenessProbeandreadinessProbefor containers.
Pod Failure Chaos Experiment would change the image of each container in the target Pod to the "pause image", which is a special image that does not perform any operations. We use gcr.io/google-containers/pause:latest as the default image as "pause image", and you could change it to any other image in helm values controllerManager.podChaos.podFailure.pauseImage.
Downloading pause image would consume time, and that duration would be counted in the experiment duration. So you might find that the "actual effected duration" might be shorter than the configured duration. That's another reason why recommend to setup available "pause image".
Another ambiguous point is that "pause image" could work "properly well" with unconfigured command in the container. So if the container is configured without command, livenessProbe and readinessProbe, the container would be inspected as Running and Ready, although it had been changed to the "pause image", and actually does not provide functionalities as normal or not-available. So setup livenessProbe and readinessProbe for containers is recommended.